Let’s Encrypt is a free Certificate Authority (CA) that issues SSL certificates. You can use these SSL certificates to secure traffic to and from your Bitnami application host.
This guide walks you through the process of generating a Let’s Encrypt SSL certificate for your domain and installing and configuring it to work with your Google Cloud Platform Bitnami application stack.
Prerequisites on GCP
- You have deployed a Bitnami application and the application is available at a public IP address so that the Let’s Encrypt process can verify your domain.
- You have the necessary credentials to log in to the Bitnami application instance.
- You own one or more domain names.
- You have configured the domain name’s DNS record to point to the public IP address of your Bitnami application instance.
- Using a Marketplace Deployment Package like WordPress Certified by Bitnami and Automattic
The Bitnami HTTPS Configuration Tool is a command line tool for configuring mainly HTTPS certificates on Bitnami stacks, but also common features such as automatic renewals, redirections (e.g. HTTP to HTTPS), etc. This tool is located in the installation directory of the stack at /opt/bitnami.
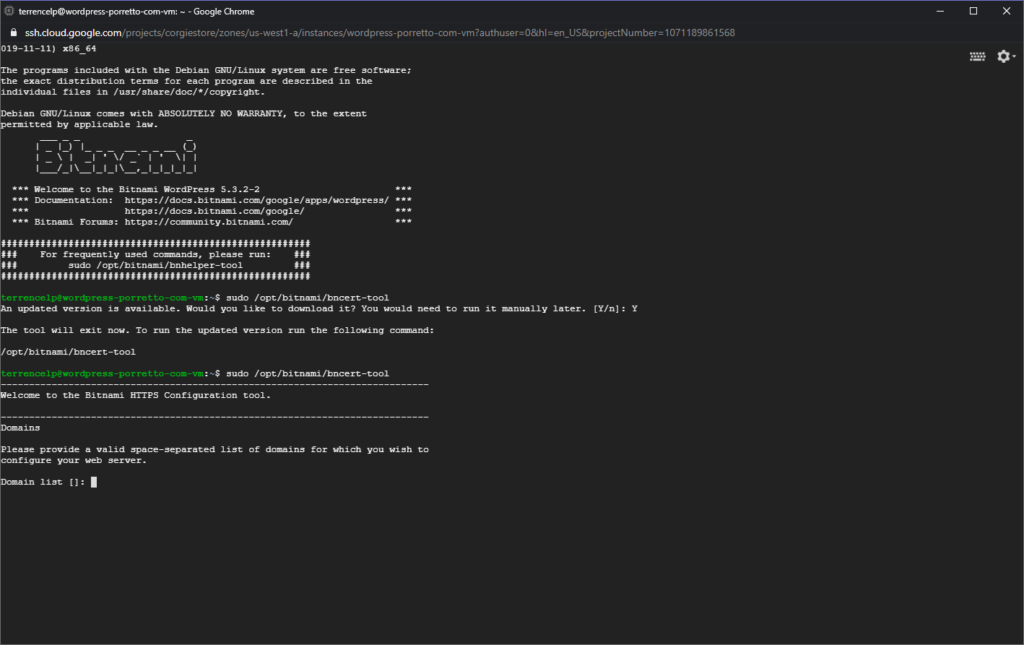
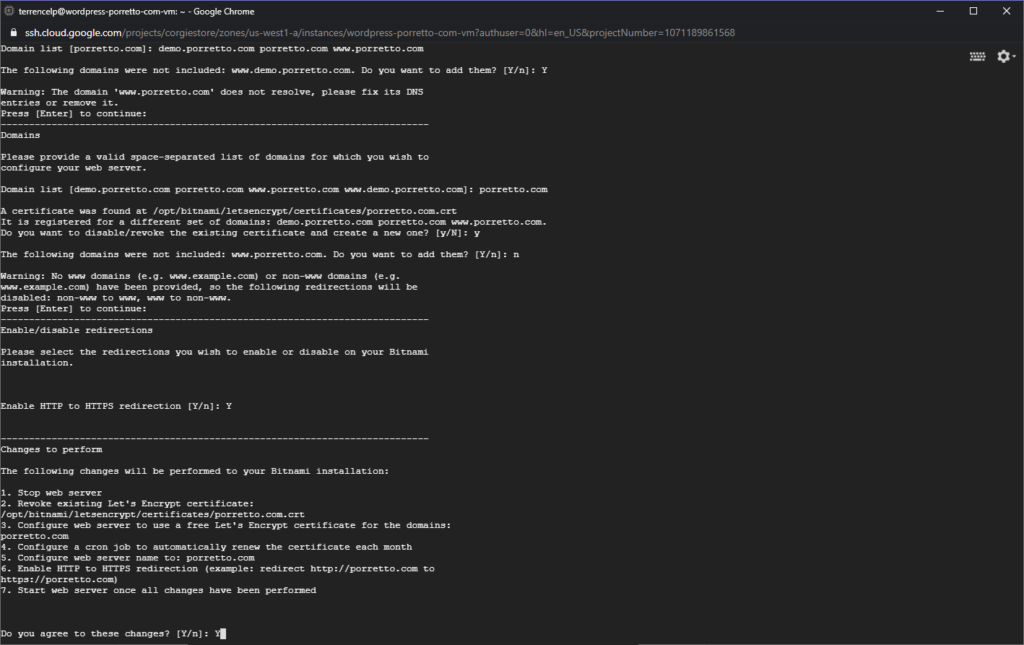
To launch the Bitnami HTTPS Configuration Tool, execute the following command and follow the prompts: sudo /opt/bitnami/bncert-tool
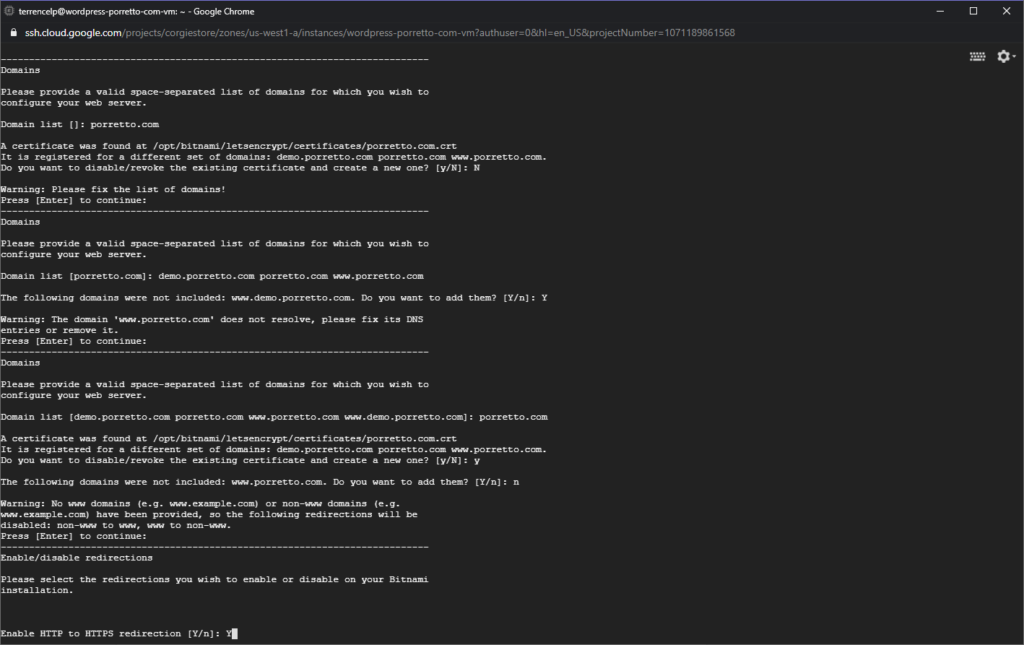
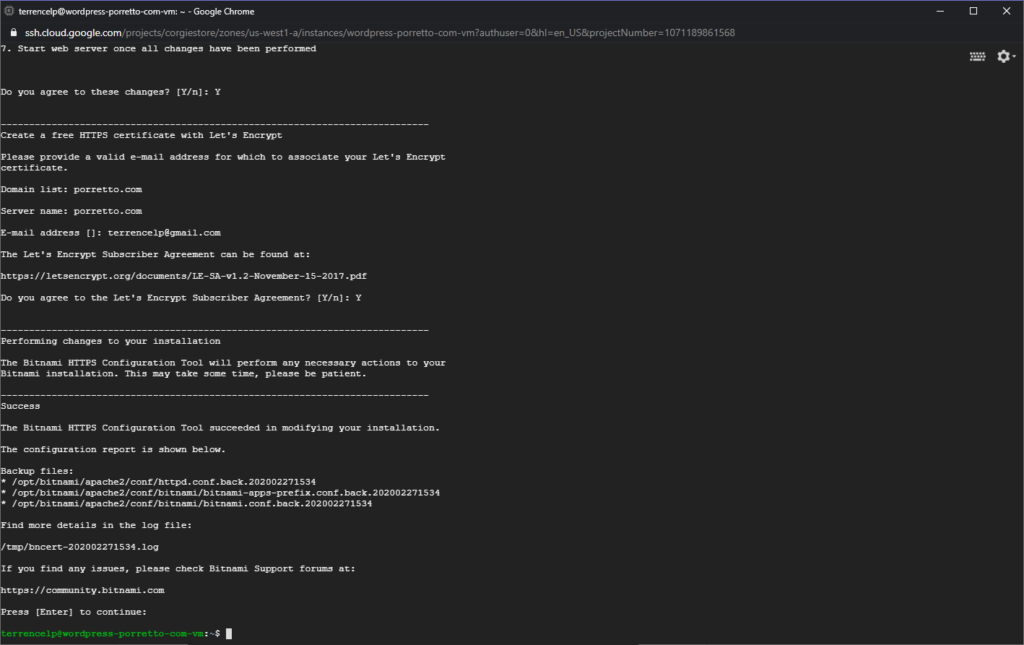
Here are a few screenshots of the process from the SSH tunnel in the CLI


